A construction laser will save time during excavations, concreting and assembly only if it is positioned correctly and works from a verified height point. Knowing how to set up a construction laser does not mean just placing it on a tripod and pressing a button. The location of the device, the strength of the base, the correct use of the receiver and checking before starting work are decisive. An error of a few millimeters during the foundation can have unpleasant consequences over a longer distance.
How to set up a construction laser before measuring
First, determine what you want to measure. For foundation slabs and concrete, this is usually a single fixed height. For installing profiles, ceilings or steelwork, you need a horizontal plane at the height of the working point. Sewerage, drainage and landscaping require a controlled slope. The procedure for each of these cases is similar, but you set the reference point and, if sloped, the laser mode differently.
Place the laser where it can cover the largest possible part of the workplace without moving it. With a rotary model, it is advantageous to place it approximately in the middle of the measured area. However, when digging, this is not a rule at all costs. If the tripod is in the path of an excavator, a passage or at an unstable edge of the excavation, it is better to choose a safe place to the side and count on measuring from one side.
The base must be firm. Press the tripod into the ground with your feet, or on concrete, set it up so that it cannot move when walking or vibrating. On soft ground, the tripod legs may slowly sink in during work. For large areas, therefore, check the height of the reference point continuously. Do not carry or move the laser once the height has been set.
Set up the tripod roughly first.
An automatic self-leveling laser will compensate for minor deviations on its own, usually within a few degrees. This does not mean that it can be tilted. Adjust the tripod head to approximately level using a bubble level, if the tripod has one. Spread the legs wide enough and adjust the height so that you have a comfortable range on the staff or wall.
Screw the device tightly onto the tripod thread. Before switching on, check that the thread is not contaminated with sand or construction dust. A small gap between the laser and the tripod is enough and the measurement changes when the device is touched. The IP54 protection helps when working in rain and dust, but after finishing, the device and the thread should be wiped and stored in the case.
After switching on, let the laser complete self-leveling. With a rotary tool, you can tell by the head stabilizing and rotating regularly. If the tool flashes, beeps, or the rotor does not start, it is likely out of the self-leveling range. In that case, turn off the laser, roughly adjust the tripod, and repeat the process. Do not force it to level by placing boards on one leg if you have the opportunity to set up the tripod correctly.
The reference height determines the result
Self-leveling will provide a horizontal plane, but it will not determine the height of the plane. You must enter this according to the project, drawing or existing fixed point. This can be a line on the formwork, a mark on the roxor, a height point from a surveyor or an already installed element to which further work is related.
Place the leveling staff on the reference point and move the receiver along the staff until it shows the center of the beam. The receiver can indicate that you are below the beam, above the beam, or exactly in the center of the beam. With a digital receiver, you can also see the deviation in millimeters. When you find the center, write down the reading on the staff or mark it with a pencil. This is your reference value.
Then move the staff to the next measured point. If the reading is the same, the point is at the same height as the reference. If, for example, you need a lower level of base concrete, calculate the difference according to the project and check it with the reading on the staff. Do not work by guessing how high you can see the laser on the wood or formwork. Outdoors, the beam is often invisible to the naked eye, even with a green laser.
Why an external receiver is necessary in the sun
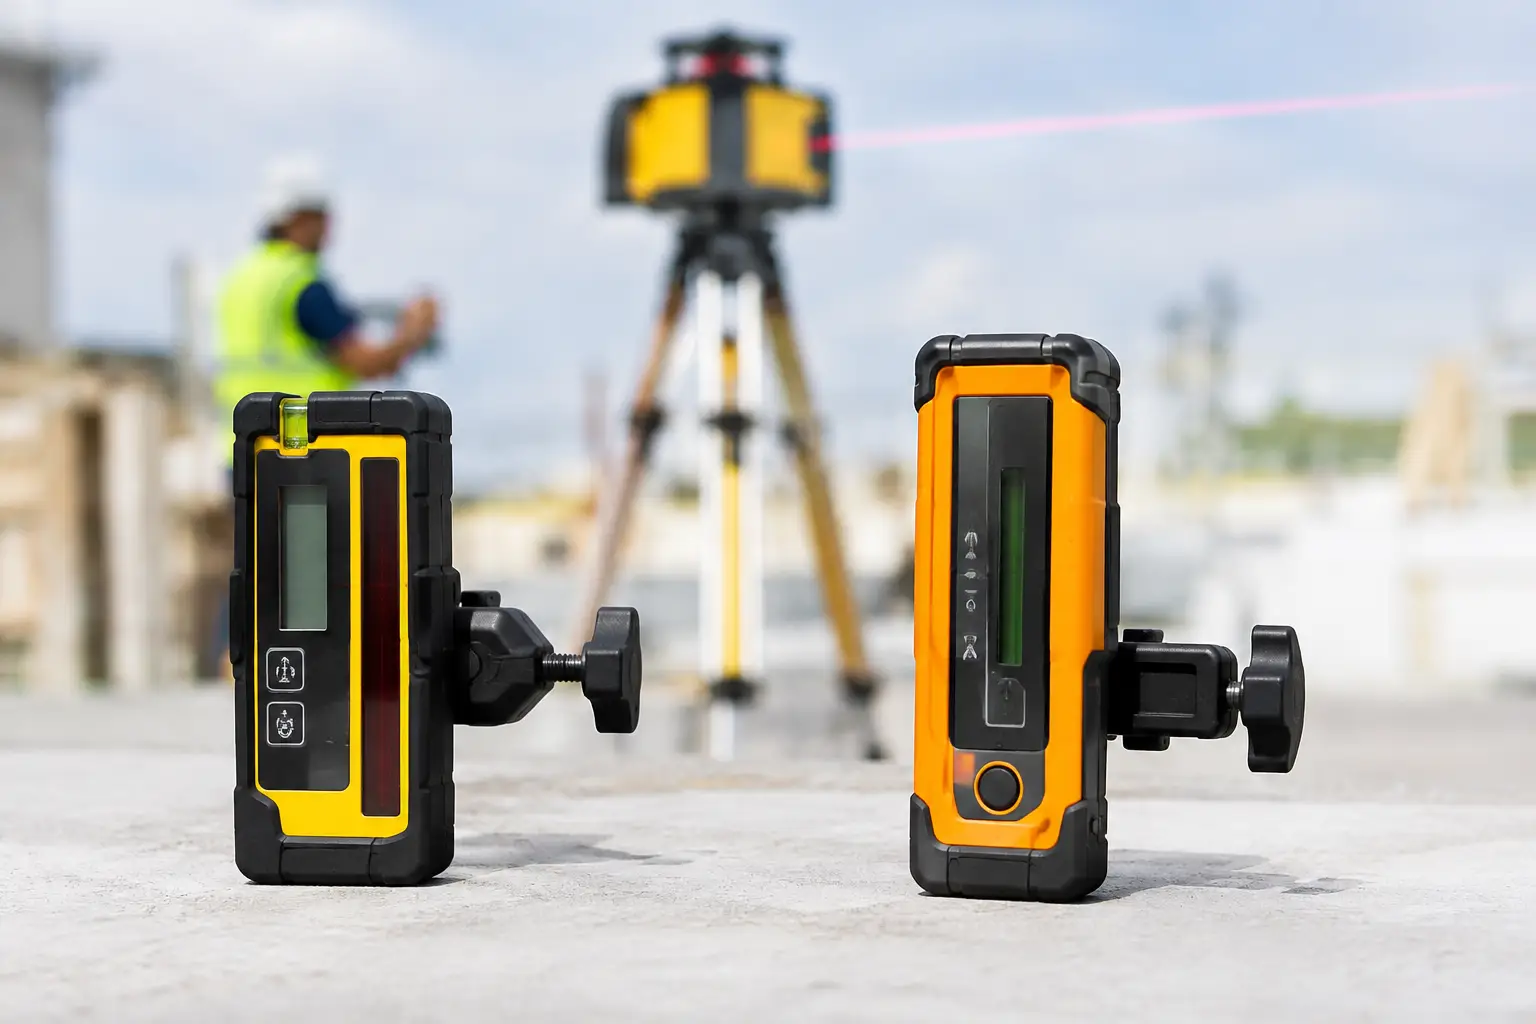
With a rotating laser on a construction site, the receiver is an essential work accessory, not an extra. In direct sunlight, the red beam is practically invisible. The green beam is perceived more clearly, especially indoors and in dim light, but even it cannot replace the receiver at greater distances or in clear weather.
Place the receiver firmly on the staff so that it does not move during the measurement. With a conventional receiver, follow the center line and the beep. A digital sensor is faster where you need an exact height difference without repeatedly finding the center - for example, when digging, backfilling or checking the slope. However, its millimeter reading is not a substitute for a correctly positioned staff. The staff must be vertical, not tilted towards you.
When transferring height to a wall or pole, use a suitable receiver holder . The hand is good for orientation marking, not for repeatable, precise measurement. For assemblies, a magnetic holder is also worthwhile if you are working on a steel structure.
Adjusting the horizontal and vertical plane
For a normal horizontal plane, leave the laser in automatic mode. After self-leveling, it creates one plane over the entire working range. You do not change the height by adjusting the rotor, but by raising or lowering the device on the tripod. Therefore, it is practical to have a crank tripod if you often carry the level, for example when forming or installing a ceiling.
If the laser offers a choice of rotation speed, a lower speed gives a more visible spot or a shorter beam section when working indoors. A higher speed is suitable when working with a receiver, as it scans the plane more smoothly. The specific mode depends on the model, but for measuring with a staff, the correct sensitivity of the receiver is more important than whether the rotor is running at the highest speed.
You can use the plumb line when transferring points, aligning columns or installing partitions. For rotary models, this can be a separate vertical mode, for cross lasers it can be a vertical line. Always turn the device according to the instructions for the type and check the direction at two distant points. When assembling a structure, it is not enough to check the verticality only at the foot - the point at height is also crucial.
How to set the slope on a digital rotating laser
A typical self-leveling rotary laser creates a horizontal plane. For sewers, drainage, ramps, or precise terrain grade, you need a sloped, digital model with X and Y axis adjustment. With such a device, first set the zero plane and only then enter the slope. If you start with a poorly set tripod or without a reference, the digital value will be set, but the resulting height may not be suitable for the project.
Align the laser axis with the direction of work. For example, the X axis can be along the pipe, the Y axis across the trench. The axis markings can vary between models, so do not rely on guesswork. Verify the direction by measuring at two points and comparing it to the projected course.
Enter the slope in percentages or per mille according to the device and documentation. A slope of 1% means a height difference of 1 cm per meter of length. With pipes, even a small error is significant, so after setting, check the beginning and end of the section with a staff and a digital receiver. In the case of a long excavation, check more points, not just the two extreme ones. The terrain may have local unevenness and the worker with the staff may unknowingly stand on an exit or in a soft spot.
When manual or slope mode is activated, the automatic position control may be disabled. This means that if someone bumps into the tripod, the laser may not indicate an error as reliably as with the automatic plane. Mark the work area and protect the device from machine movement, vibrations and accidental contact.
Accuracy check before concreting or excavation
Even a pre-calibrated laser should be checked reasonably on site. Calibration addresses the accuracy of the device, not tripod movement, a dead battery, or a poorly positioned staff. A quick check takes a few minutes and can prevent expensive repairs to the finished job.
Measure the reference point immediately after setting. Then verify the same point again after transferring the height to several other locations. If the value has changed, do not automatically look for a fault in the laser. First check the tripod legs, the receiver mount, the verticality of the staff and the battery status.
For larger work sites, it is also wise to check after a break, after strong vibrations or after moving machinery nearby. If the laser has been dropped, received a strong impact or shows different values when measured from opposite sides, stop working. The device needs checking and possibly calibration, not further fine-tuning on the site.
Rotary Lasers - Levels deliver new devices pre-calibrated and when you pick them up in person in Švábovce they can show you the settings directly on a specific model. When working regularly, it pays to have service, a charger, the right receiver and available spare parts on hand. A laser that can be repaired and recalibrated is in practice more advantageous than a one-off cheap device without support.
Before taking your first measurement on a live job, try the entire procedure on two points next to each other: set the reference, transfer it to the staff, and then verify the result. When you establish this habit before every concreting, excavation, or assembly job, the laser will do exactly what you need it to do on the construction site.