When a height difference of several centimeters occurs during concreting, kerbing or building foundations, the problem often did not arise when working with a batten. The cause may be a device that has stopped maintaining an exact plane after falling, being transported or being used for a long time. A construction level test is therefore not a useless extra check. It is a quick way to confirm before starting work that the rotating laser is measuring as it should.
A construction level may light up, rotate, and function flawlessly on the outside. However, if its horizontal plane is not calibrated correctly, the error will be transferred to the entire structure. With a short installation, you may notice it immediately. With excavations, foundation slabs, sewers, or landscaping, it may only become apparent when the repair is expensive and time-consuming.
When does a construction level test make sense?
We recommend checking the accuracy of a new device before first use, after a strong impact, after falling from a tripod, and whenever the measurement results do not match the verified point. It is also wise to include it in regular maintenance, especially if the laser is driven daily in a car and works in dust, cold, or on uneven terrain.
A new rotary laser should be calibrated before sale. However, this does not mean that it does not need to be checked during its further operation. Self-leveling solves the tilt of the device within the permitted range, for example after a slight movement of the tripod. However, it does not correct the calibration error of the measuring plane. These two things are sometimes confused by craftsmen.
If the laser flashes or indicates that the tilt range has been exceeded after switching on, first place it more stably. Only perform the accuracy test when the device is within the self-leveling working range and the rotary head is working without interruption.
What to prepare before measuring
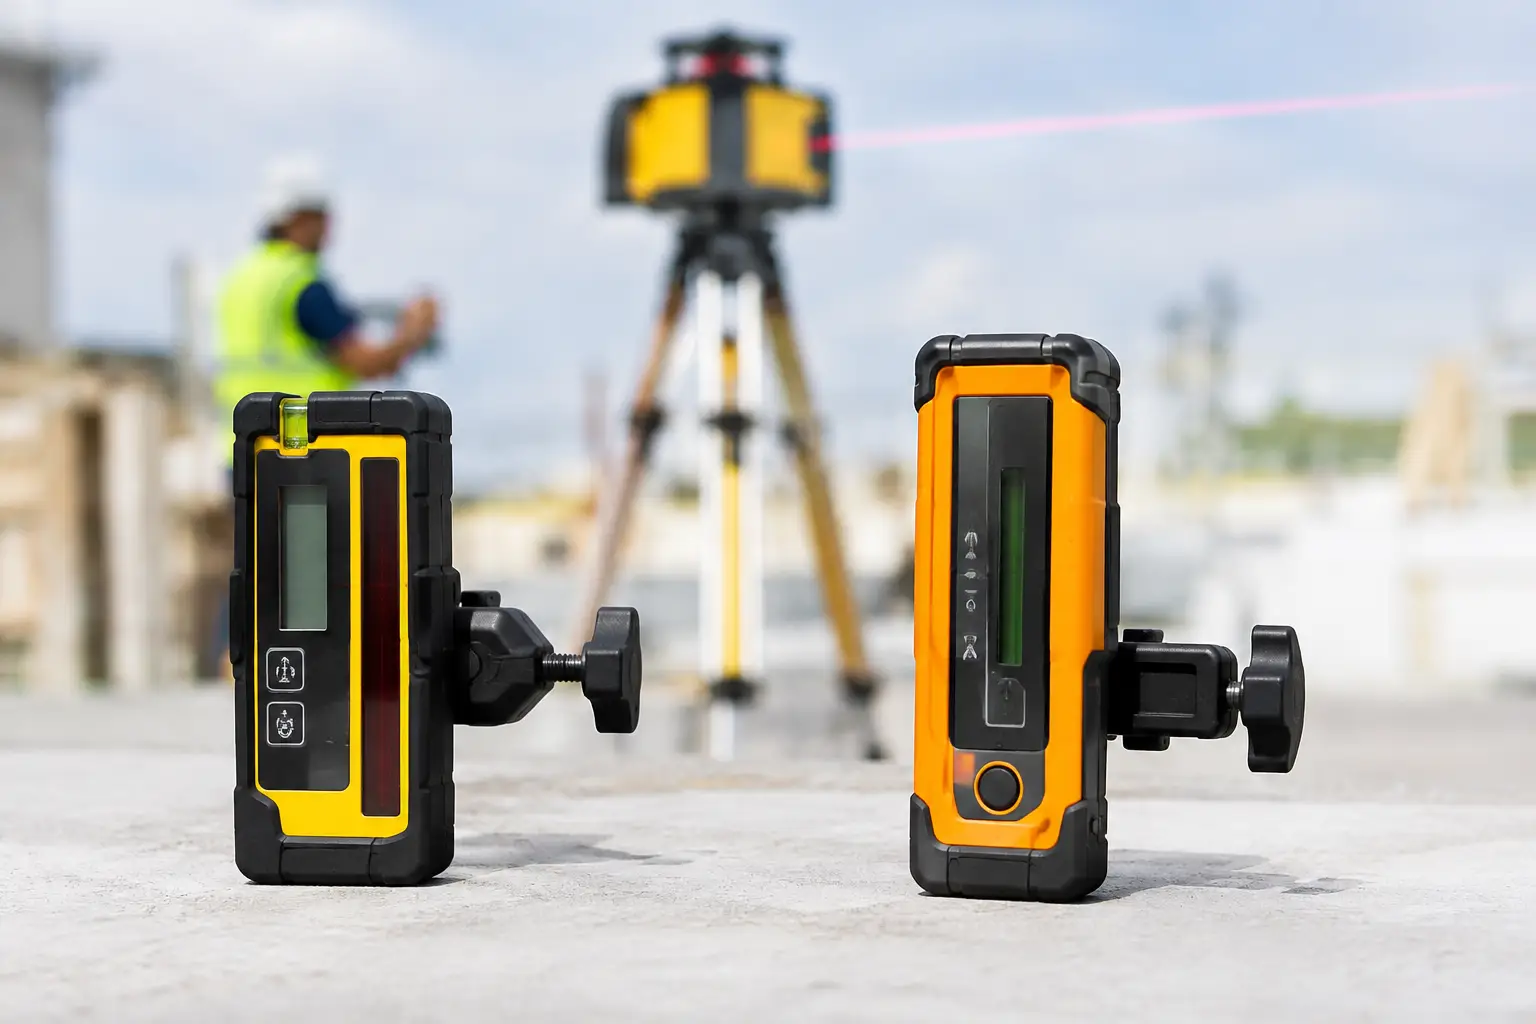
For a basic horizontal accuracy check, you need a rotating laser, a sturdy tripod, a receiver with a mount, a level or straightedge, and two opposing vertical surfaces. A hall, long hallway, warehouse, or quiet space between two walls is ideal. The test can also be performed outdoors, but wind, soft ground, and strong sunlight increase the risk of inaccurate readings.
Choose the largest possible distance between the walls, practically at least 20 meters. At a short distance, even an existing error will only show a small difference and the check will not be sufficiently informative. For an accurate reading, use an external receiver . The red or green beam may not be visible to the naked eye in daylight, and the receiver works reliably even where you can no longer see the beam.
The tripod must be on a solid surface. On fresh soil, gravel or a wooden floor that bounces when you walk, you may measure a deviation that is not caused by the laser. Also check the tightness of the thread of the device and the receiver holder on the staff.
Horizontal plane check procedure
Mark the first point
Place the laser approximately midway between the two walls, marked A and B. Switch on the horizontal mode and let the device complete self-levelling. Use the receiver to find the height of the laser plane on wall A and mark it accurately. Mark the point on wall B in the same way.
When working with the staff, write down the readings. It is important not to change the height of the receiver on the staff without noticing it. A digital receiver with a millimeter reading is convenient for testing because it will show the difference from the center position by a specific value, not just up or down.
Move the device to wall A
Move the laser approximately 0.5 to 1 meter from wall A. Do not change the marks you made in the first measurement. After self-leveling, read the plane height again on wall A and then on the distant wall B.
At the near wall A, the laser should hit the original mark or show only a negligible difference. It is the point on the far wall B that will show whether the horizontal plane behaves correctly when the instrument is rotated and moved. Record the difference between the original mark and the new reading.
Verify the result from the other side
For a reliable result, move the device similarly to wall B and repeat the measurement towards wall A. If the deviation appears similarly on both sides, you have a clearer picture of the calibration status. A single measurement can be distorted by a poorly placed tripod, an inaccurately marked point or movement of the staff.
Compare the result with the accuracy stated by the manufacturer. A common rotating laser may have an accuracy of, for example, ±1.5 mm at 10 m, but the exact figure always depends on the specific model. So at a distance of 20 m, do not judge the device by feeling, but by the allowed tolerance calculated for the given distance.
How to evaluate the measured deviation
A small difference does not automatically mean a malfunction. Every measuring instrument operates within a specified tolerance. If the result is within the manufacturer's limit and you have repeated the measurement with the same result, the laser is ready for work.
If the deviation exceeds the tolerance, do not try to compensate for it by "adding" your own value with each measurement. This is an unnecessary risk when building foundations, concreting or setting heights. The device needs professional calibration or inspection after mechanical damage.
Also be aware of the situation where the laser only shows a difference in a certain orientation. A rotary device may have a deviation in one axis, while it will be seemingly accurate in the other. Therefore, for a thorough check, it is worth performing the test after rotating the device by 90 degrees. This way you will check both horizontal axes.
Checking verticality and inclination has its own rules
For models with vertical mode, the plumb line is checked on a high, flat wall or plumb line. Place the laser in a vertical position, mark a line at the lower point and compare it with a verified plumb line at a higher height. When installing drywall, steel structures, shelving or facades, this check is just as practical as the horizontal test.
Check the digital construction level with slope input in the X and Y axes according to the specific operating mode. In manual slope mode, the device intentionally does not self-level to the horizontal plane, so a regular horizontal test would not give the correct result. First, verify zero slope, then set the desired value and check it with the receiver on the staff at a known distance.
When it comes to sewerage or drainage, it's not just the accuracy of the laser itself that matters. What's important is proper operation of the receiver, a solid staff, a suitably selected reference point, and checking that you haven't accidentally turned on the slope mode. One incorrectly selected mode can ruin even a perfectly calibrated measurement.
Most common test mistakes
Most problems arise when testing at short distances, on an unstable tripod or when reading with the naked eye. With a rotating laser, the receiver also has its justification indoors - it captures the center of the beam more accurately and the result is repeatable.
It is also a mistake to measure immediately after moving the device from freezing to a heated room or vice versa. Let the device adjust to the temperature for a while, wipe off any condensation, and only then start. Check the battery or accumulator status. While a weak power supply may not directly change the calibration, it can cause outages, irregular rotation, or unnecessarily unclear results.
Don't forget about the receiver either. If it has a damaged window, a dead battery, or play in the holder, the fault may be in the accessories. Therefore, before sending the laser for service, it is worth trying a second receiver and repeating the measurement in a fixed location.
When the inspection reveals a problem
If the test repeatedly confirms a larger deviation, remove the device from precision work at height. Do not wait until the error is apparent on the finished slab or the pipes fall. Calibration is faster and cheaper than correcting the wrong work.
At Rotary Lasers - Levels, we handle inspection, calibration and repairs and have parts available for routine service interventions. When handing over the device, it will help if you say how you performed the test, at what distance and what deviation you measured. This way, the technician can more quickly assess whether it is a calibration, mechanical damage or a problem with the accessories.
Before any major concreting or marking out, take ten minutes to check. A good construction level is meant to save time on the construction site, not add uncertainty to the final reading.