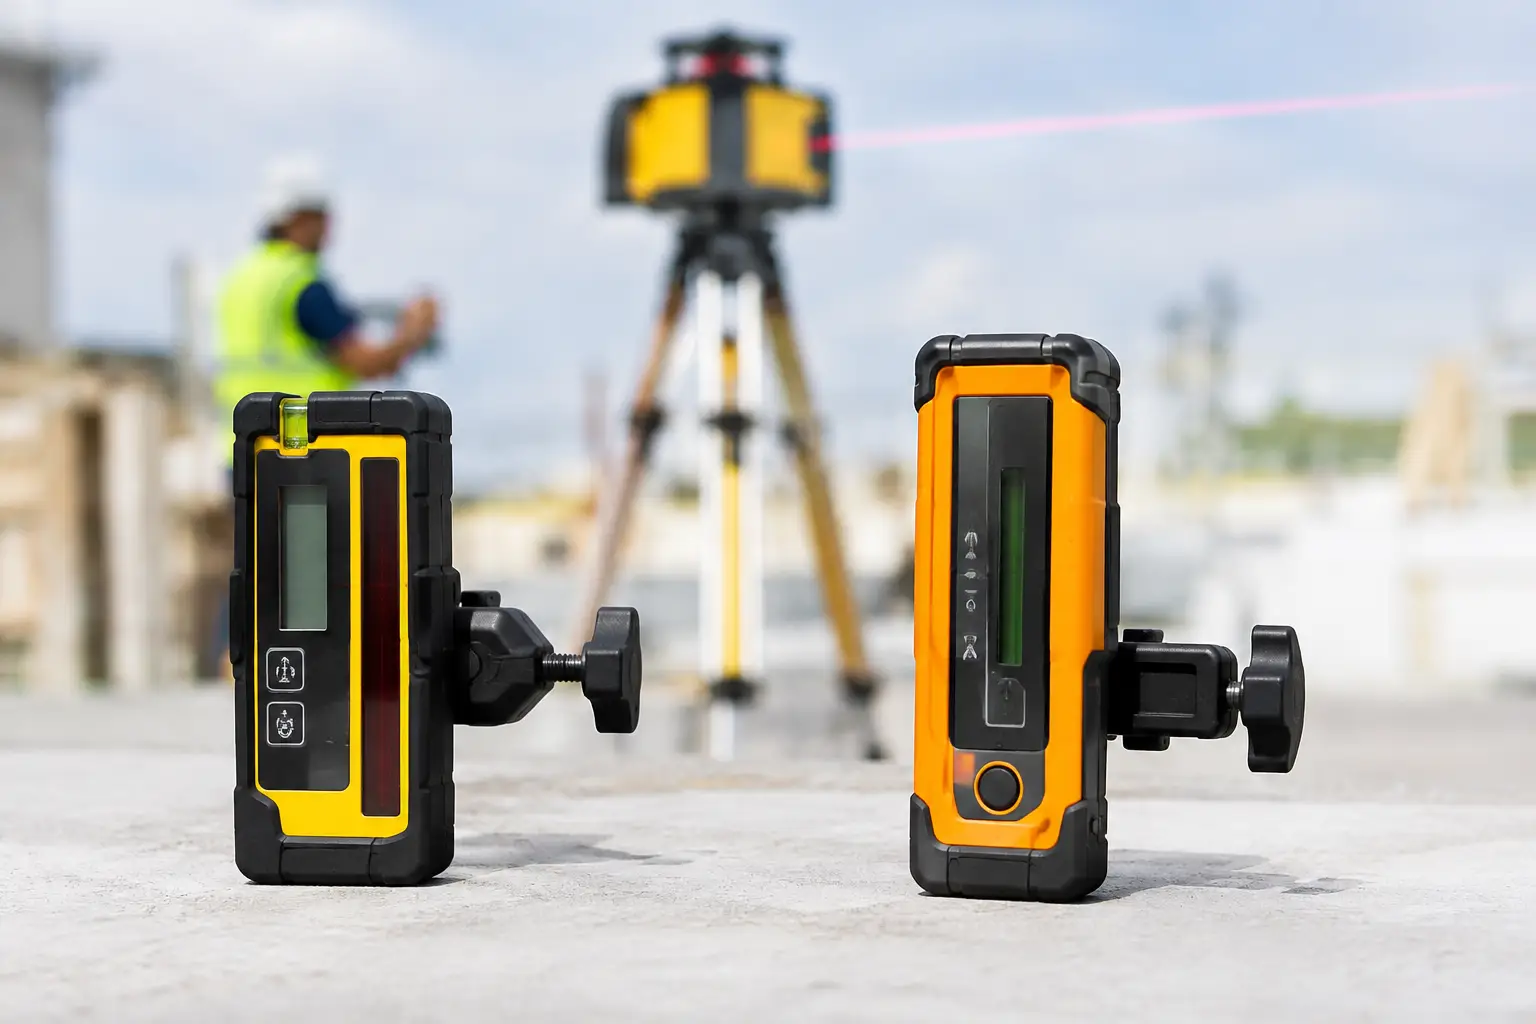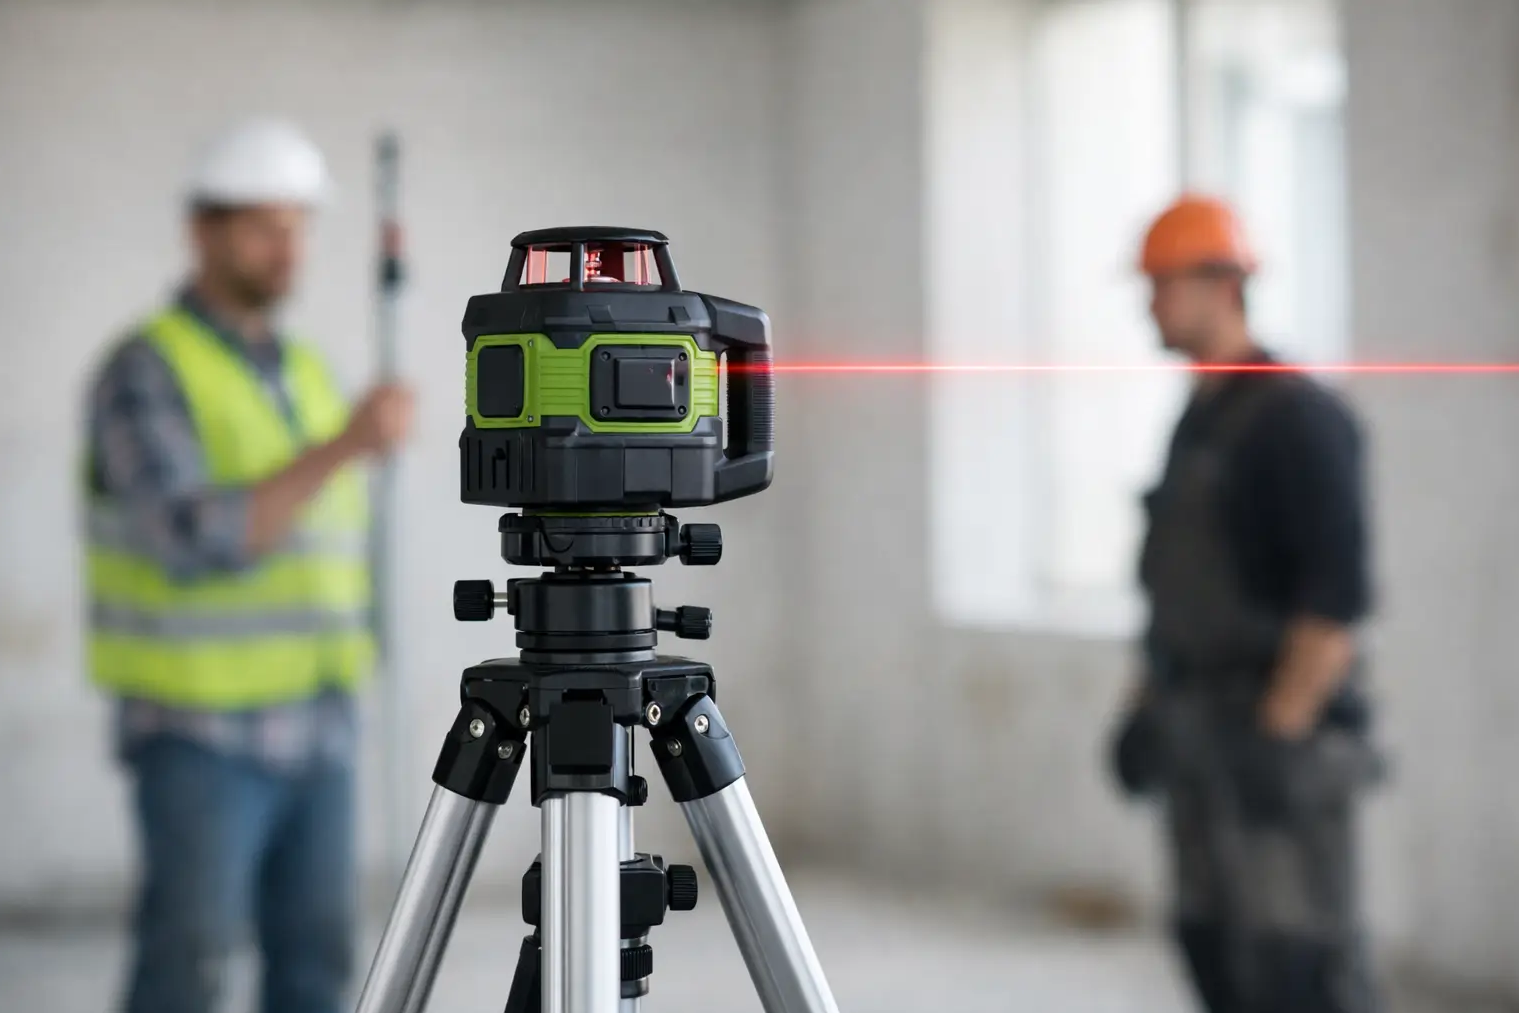
When a rotating laser is standing on soft ground, the tripod leg slides a few millimeters during the measurement and the receiver on the staff starts to show a different height, the problem is not the laser. Often the rotating laser tripod is to blame. When pouring concrete, digging, laying curbs or adjusting the slope, a stable base determines whether you work quickly or whether you have to check the reference height every now and then.
A rotating laser can create a precise horizontal plane, or a plane with a specified slope. The tripod must maintain this position during work. It does not always have to be the most expensive model, but it must suit the type of work, the weight of the device and the surface on which you are working.
Why a tripod is important with a rotating laser
When turned on, the laser will self-level to a certain extent, usually a few degrees. However, this does not mean that it can be placed on any inclined or unstable surface. Self-leveling will level the device, but it will not eliminate tripod movement caused by soft soil, vibrations from the equipment, or loose connections.
When working indoors, a small shift will be noticeable when installing suspended ceilings or partitions, for example. Outdoors, the consequences are greater. If you are setting out the height of foundations, preparing a gravel bed or inspecting a sewer excavation, even a small change in the laser height will transfer the error to the entire work area.
A good tripod offers three specific benefits: you can position the laser at the required height, it can be aligned more quickly in the work area, and the position remains stable. This saves time and material over longer periods of time.
The thread must fit without reductions
The standard for rotary lasers is a 5/8 inch thread. You can find this thread on most professional rotary lasers, leveling devices, and construction tripods. The device screws directly onto the tripod head and must not have any play after tightening.
Always check the thread in the specific device's specifications before purchasing. Smaller cross-line lasers often use a 1/4-inch thread, sometimes a 5/8-inch thread, or both. However, don't buy a lightweight photo tripod for a rotary laser just because it's the same height. Its head, column, and legs may not be able to handle the weight or the daily rig work on a construction site.
Reducing from a 1/4" to 5/8" thread may help in specific applications, but in general use it is an additional connection that can loosen or create play. With a rotary laser, direct mounting is more secure and faster.
Also check the contact surface
It's not just the thread that's important. The bottom of the laser must rest firmly on the tripod head over its entire surface. If the device only rests on the edge of the adapter or on an uneven part, it can tilt when tightened. With digital models for grade adjustment, a firm fit is even more important because you are working with a defined slope in the X or Y axis.
What tripod height to choose
The height of the tripod is chosen depending on where the laser plane will be and where the operator will read the values. For earthworks and leveling with a staff, a standard construction tripod with a working height of approximately 1 to 1.7 meters is often sufficient. The laser is high enough above the ground and the receiver on a 5-meter staff has plenty of space to read the height.
A taller tripod is useful when installing ceilings, facade elements, formwork or when working behind obstacles. However, it should be noted that the resistance of the assembly to wind and impact decreases with increasing height. A very tall tripod is not automatically better if you are working low on a foundation slab or in a narrow trench.
Tripods with a retractable center column, sometimes referred to as elevator ones, are practical. They allow for finer height adjustment without the tedious task of moving the legs. This is a convenient solution on a smooth floor in a hall or during assembly. However, in the field, the column must be properly secured after adjustment. In windy conditions or when moving around the tripod frequently, a model with a fixed head and widely spaced legs is more secure.
Aluminum or heavier construction tripod
An aluminum tripod is the most common choice for craftsmen and construction teams. It is reasonably light to carry, resistant to regular work and reasonably priced. It will do a good job for setting out heights, assembly, paving, sewage and regular concreting if it has solid leg locks and high-quality metal joints.
A heavier tripod is worth it where the laser is in one place for a long time, working in the wind or near machinery. The higher weight reduces the risk of oscillation. The disadvantage is the transfer between work sites, especially if you carry the tripod together with the staff, laser, receiver and other tools.
A cheap, very light tripod may be suitable for occasional indoor work. However, for regular outdoor use, it is not worth skimping on locks and legs. A cracked plastic lever or play in the head will stop the work sooner than the laser itself.
Off-road legs: spikes, locks and spacing
For soil, gravel and grass, legs with steel spikes are suitable. The spike sticks into the ground and the tripod moves less after accidental contact. On finished paving, concrete or indoors, you will appreciate the rubber tips that protect the surface and do not reduce grip.
Before turning on the laser, spread the legs wide enough. A narrow spacing will take up less space, but the entire tripod is more prone to tipping over. Press each leg evenly into the ground. If one leg is on loose soil or a rock, it may sag under load.
The locks of the extendable parts must hold without slipping. To check, it is enough to press lightly on the top of the tripod before assembling the device. If the leg drops or any joint moves, tighten it, or do not use the tripod for precise measurements. On uneven terrain, it is better to spend two minutes on the correct position than to correct the heights along the entire route.
Correct tripod position in practice
Position the tripod so that the laser has a view of as much of the work area as possible. When working outdoors with the receiver, direct sunlight does not interfere with the measurement itself, but obstacles may include machines, pallets, excavation walls or parked vehicles. It therefore makes sense to position the laser in the middle of the work area or on a slightly elevated spot away from the movement of equipment.
First set the approximate height of the legs, then tighten the locks and then screw the laser in. After self-leveling, check the first reading on the staff or receiver. If you have to move while working, do not carry the laser attached to the tripod. Disassembly takes a while, but it protects the thread, tripod head and calibration of the device from falling.
When working on slopes, mark the tripod position. If you need to turn off the laser, charge it, or move an obstacle, the marking will allow you to set it back up in a similar location and re-verify the reference point. Never assume the set slope is correct without checking it at a known point.
When is a batten kit worth it?
If you are buying your first rotary laser for earthworks, a standalone device without a receiver, staff and tripod is often not a complete solution. You will not be able to see the laser beam outdoors with the naked eye at a greater distance, especially in the sun. The external receiver and staff provide height readings, the tripod creates a stable reference.
The kit has the advantage that the thread, height and method of use of the individual parts are selected together. When purchasing separate accessories, you should compare the thread, maximum height, load capacity and type of leg ends in particular. For more accurate readings, a digital receiver with a millimeter display is worth it, but you can only use its benefits with a stably placed laser.
At Rotary Lasers - Levels, you can try the device in person before buying and get advice on the specific job. With regular use, available service and spare parts are also important, because both the tripod and the laser get used on the construction site.
Maintenance that extends the lifespan
After work, remove dust, gravel and dried mud from the threads and locks. Do not immediately pack a wet tripod, especially if it has steel tips or metal screws. Moisture and dirt gradually impair the operation of the extendable parts.
Regularly check the screws, levers and play in the head. Do not wait until the joint is completely loose before measuring. If the tripod has been dropped or received a strong impact, check that the head still sits level and the legs are the same length when extended.
Choose a tripod based on the actual job, not just the price or maximum height in the catalog. A stable model with a 5/8 inch thread, solid locks, and legs suitable for your terrain will give your rotating laser exactly what it needs: a quiet point from which to measure reliably all day long.