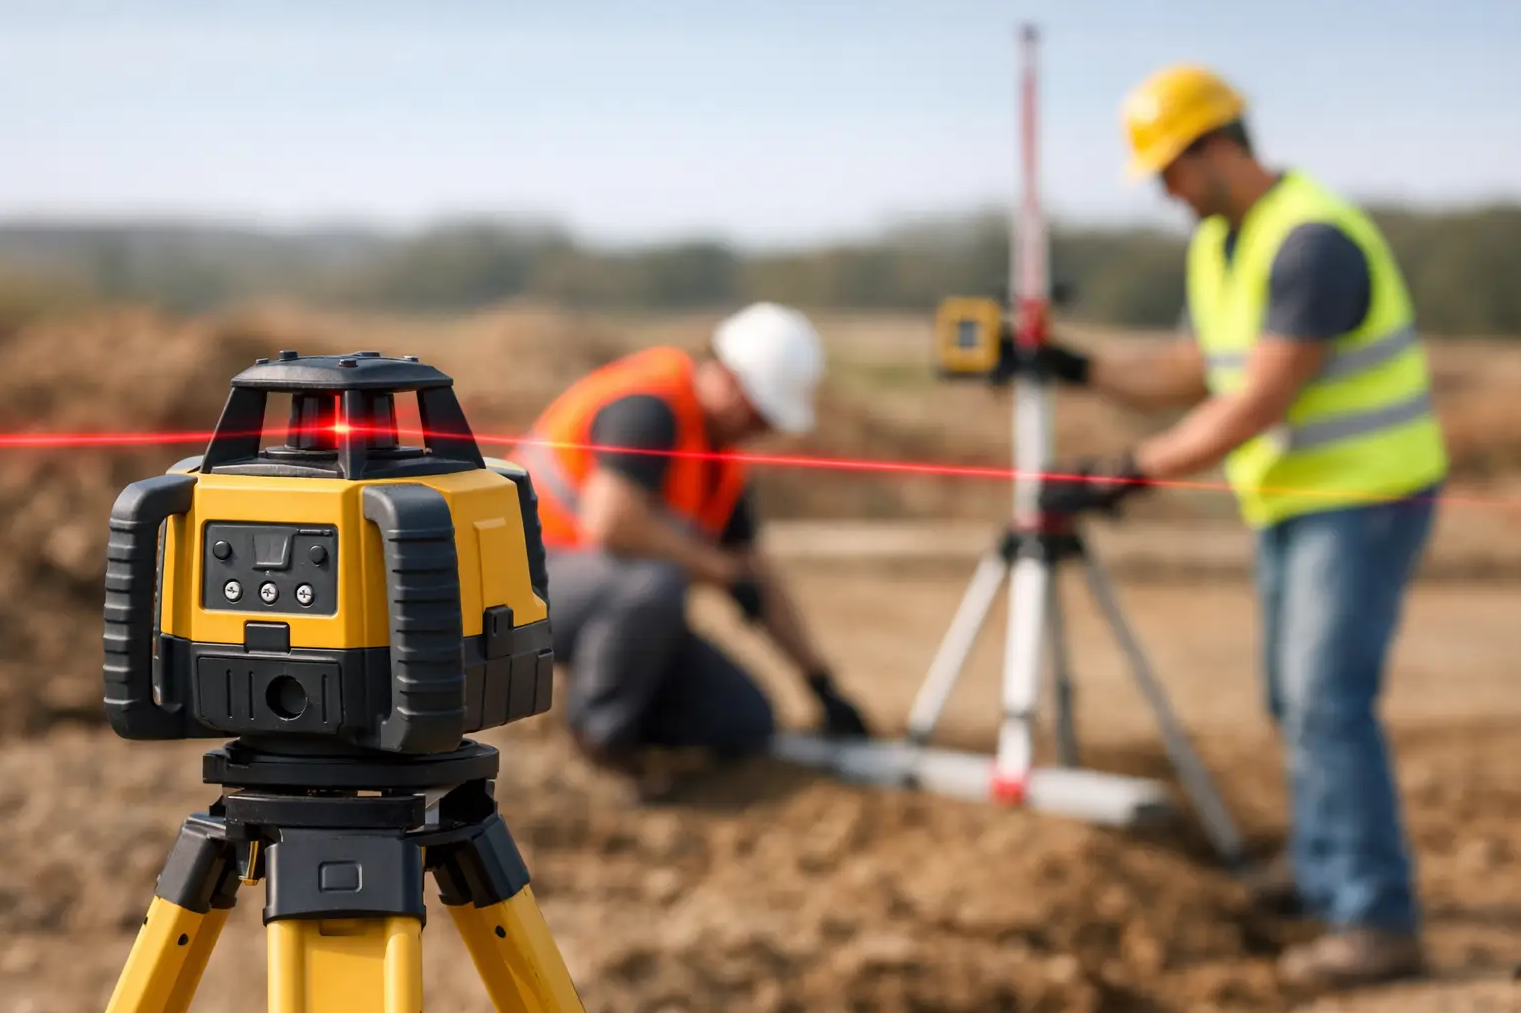
When excavating a sewer connection, it is not only the correct depth at the beginning that is decisive. It is important that the bottom slopes precisely along the entire route and the pipe has the designed slope. Setting the slope with a rotating laser gives the construction team a fixed height plane, according to which they can check every meter of the excavation, the gravel bed and the placement of the pipe. Without recalculating from point to point and without guessing by eye.
The same principle is used for landscaping, driveways, parking areas, drainage channels or concreting sloping areas. However, the accuracy of the result does not only depend on whether the laser is shining. The correct reference point, axis orientation, receiver selection and post-setting check are decisive.
When do you need a grade rotation laser?
A standard automatic rotating laser will create a horizontal plane. It is excellent for foundation heights, formwork, ceilings, interlocking paving or a flat slab. However, it is not sufficient for a defined slope. Some devices will allow you to physically tilt the laser after locking the compensator, but this procedure is not a controlled slope adjustment. It is best suited for orientation work, not for sewerage or precise paved surfaces.
The digital grade rotation laser electronically adjusts the grade in the X-axis, and in selected models also separately in the Y-axis. The device maintains the specified plane and the worker can check the height with the receiver on the staff. If the area is to slope in one direction, adjustment in one axis is usually sufficient. For ramps, yards and areas where water is to be directed to a specific corner or line, you can use the grade in both axes.
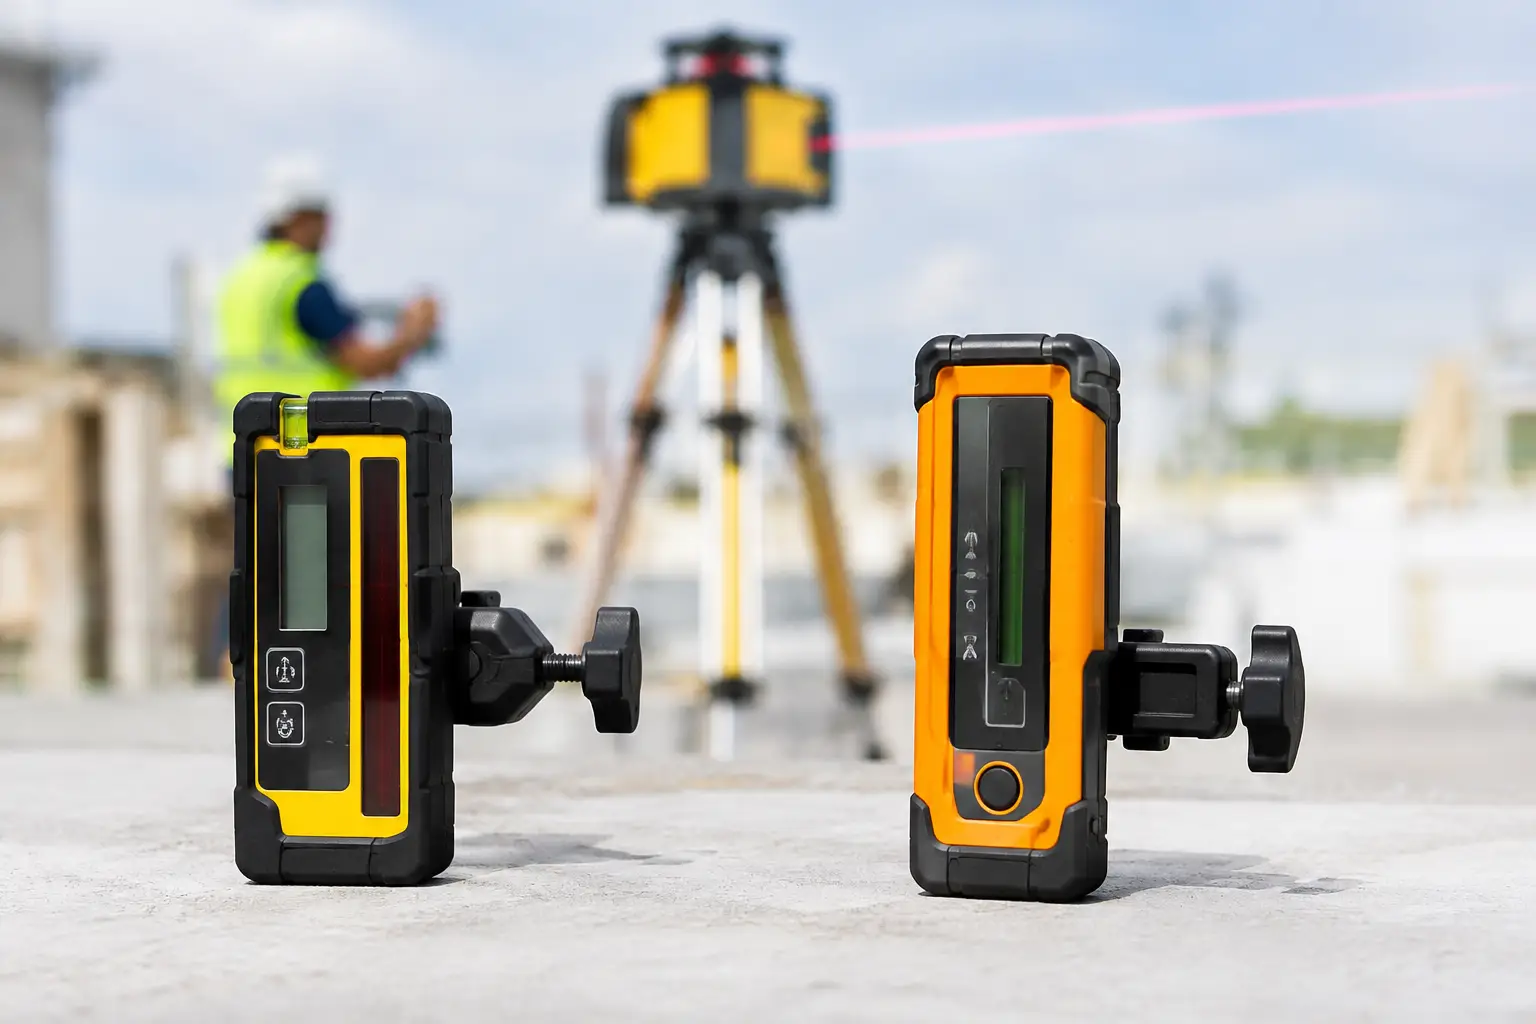
The working environment is also crucial. Indoors, a visible beam line can be useful, but don't rely on the beam itself outside in the sun. An external receiver is essential for a rotating laser. A digital receiver with millimeter readout also shows how much you are above or below the desired height. This speeds up the work and reduces unnecessary bottom repairs during long excavations.
Adjusting the slope of a rotating laser step by step
First, determine the direction of the slope and the reference point
Before you set up the tripod, you need to be clear about where the slope should go, what its value is, and from which point the heights are derived. The project may state the slope in percentages, per mille, or directly in elevation. Do not confuse these figures. A slope of 1% means a drop of 1 cm per meter, or 10 mm/m. A slope of 10 ‰ also means 10 mm/m, or 1%.
Choose a fixed reference point. This can be the projected height of the pit bottom, a prepared point on the foundation slab, or a mark on a bench. It must remain unchanged during the work and be easy to find. If you determine the reference only by where the battens rest on soft ground, the error can be transmitted along the entire length of the route.
Place the laser on a stable tripod outside the route that the machinery will travel on. Press the tripod firmly into the ground and let the device complete self-leveling. Even a quality laser with IP54 protection needs a stable workplace. Vibrations from a mini excavator, a stepped tripod leg or a base that settles after rain can ruin a well-adjusted level.
Correctly orient the X and Y axes
The axis in which you set the slope must be directed along the planned descent route. For sewers, align it with the axis of the excavation. For areas that are to descend from the house to the drainage gutter, run the appropriate axis perpendicular to the gutter. If the laser allows inclination in both the X and Y axes, check the axis markings directly on the device and in the Slovak manual before setting. The orientation of the controls may differ slightly between brands.
This is where a common mistake occurs: the device sets the correct number, but the axis is not turned in the correct direction. The result is a slope sideways or the opposite. On a short route, the error can be caught by inspection, but on a twenty-meter area it means unnecessary digging or leveling of the material.
Enter the slope value and work with the receiver zero
After aligning the laser, set the desired slope. If you need a 1.5% slope over a length of 12 m, the difference between the start and end will be 18 cm. Depending on the design of the device, you enter the value in percentage or per mille. Always check before starting work that you are entering the slope in the correct direction. Negative and positive values are not just a formality on the display.
Place the leveling staff on the reference point, move the receiver along the staff and find its center position. Mark this position or use it as a working zero. For other points, a simple rule applies: when the receiver signals the center, the staff is at the correct height in relation to the inclined plane of the laser.
With a digital receiver, you don't just have to wait for a continuous tone. The display shows the deviation in millimeters, so the worker knows exactly whether to remove 14 mm of soil or add 8 mm of gravel. This is a practical advantage when manually leveling an excavation. When working with an excavator, it gives the guide a clear indication, not vague instructions like "a little further down."
Verify the endpoint before you start implementing
After setting the slope, check at least a second point at a known distance. If the start and end of the route are 10 m apart and the slope is 2%, the height difference must be 20 cm. The check does not take much time, but it will reveal the opposite direction of the slope, an incorrectly rotated axis and a poorly chosen reference point.
For longer routes, also check intermediate points. The laser maintains the plane, but the execution itself may fluctuate due to uneven ground, poorly held staff or tripod movement. Continuous checking after 3 to 5 meters is cheaper than repairing the finished bed along its entire length.
Calculation of slope without unnecessary errors
On construction sites, you only need to know a simple relationship: you get the height difference in centimeters by multiplying the length in meters and the slope in percent. At a slope of 0.5% at 16 m, the difference is 8 cm. At 3% at 7 m, it is 21 cm.
However, in sewerage, the project always takes precedence over common practice. The smaller diameter of the pipe, the type of sewer branch, the connection to the existing shaft and the required coverage can determine the exact dimension from which it is impossible to deviate. The rotating laser will accurately transfer the specified slope, but it does not determine what slope should be designed.
For areas around the house, it is worth distinguishing between longitudinal and transverse slopes. A driveway may slope down towards the garage, but at the same time need a slight transverse slope for drainage. In this case, a model with X and Y settings is more practical than a solution where one plane is measured with a laser and the other improvised with a batten.
Errors that can ruin even a precisely adjusted device
Most problems are not caused by a laser malfunction, but by the workflow. The first risk is moving the tripod after establishing a reference. If you have to move it, re-transmit and verify the zero point. The second is working without a receiver in direct sunlight. The beam can be difficult to see even with the green version, while the receiver will pick up the rotating beam more reliably.
Also pay attention to the batten. It must stand vertically, not diagonally on the slope. Even a slight tilt will change the reading. When digging, it is advisable to rest the bottom of the batten on a solid bottom or board, not on loose material. When checking a pipe, always measure at the same point on the profile and do not arbitrarily swap measurement points between the top of the pipe, the axis and the bottom.
Calibration is a separate topic. If the laser has been dropped, received a strong impact or has been working in demanding conditions for a long time, it is wise to verify its accuracy. It is not worth taking risks with precise heights. A pre-calibrated device is ready to work, but regular checks during its service life are part of responsible maintenance.
What setup to choose for working with gradients
For simple work at height, a standard self-leveling rotating laser, tripod, battens and receiver are sufficient. If you regularly do sewers, drainage, communications or sloped concrete, choose a digital slope model. The extra cost makes sense when it saves you one mistake during excavation or one lengthy measurement of the finished area.
The equipment in the package is also important. A five-meter pole is more practical for excavations and landscaping than a short indoor pole. A solid tripod holds the height, the receiver ensures outdoor work, and the rechargeable power supply reduces downtime. If you use it frequently, also ask about the availability of a receiver holder, charger, battery, and service. A cheap device without parts can be more expensive than an available serviceable model when the first damaged part breaks.
At Rotary Lasers - Levels, the devices are calibrated before sale and when you pick them up in person in Švábovce, you can try out the slope setting right away. When choosing, it is worth saying whether you are dealing with a single sewer connection, regular work with an excavator or concreting areas in two slopes. This will decide whether a simpler model is enough for you or whether you will use digital X and Y adjustment.
Accurate grade is not achieved by placing the laser on a tripod and turning it on. It comes from a well-defined zero, a properly rotated axis, and checking the result on the line. Once you master this process, the rotating laser will not only measure height, but will directly control the quality of your work.